While do-it-yourself projects can be fun and fulfilling, there is always a potential for personal injury or property damage. We strongly suggest that any project beyond your abilities be left to licensed professionals such as electricians, plumbers, and carpenters. Any action you take upon the information on this website is strictly at your own risk, and we assume no responsibility or liability for the contents of this article.
How to Replace Damaged Ceramic Tile

Ceramic tiles can look great for decades without damage, but it only takes a dropped cup or sudden shock to leave a tile cracked and badly chipped. Small cracks and chips can be filled and covered with paint, but the only permanent fix is to replace the damaged tile entirely. It’s easy enough to carefully remove just the damaged tile and leave the rest intact, as long as you have a replacement set aside from when the tile was installed. You just need a chisel and a few other tools you likely already have at home, as well as a bit of patience, to carefully remove the tile while avoiding damage to the surrounding tile.
Find a Match

First, make sure there are matching tiles available to replace the ones you're removing. If there are no matches available from the manufacturer, and you don’t have any set aside from the original installation, you’re likely going to have to re-tile the floor to get a seamless look. Trying to fit in a tile that’s obviously not a match can work if you can include it in a chair rail or backsplash addition, but removing that much tile to replace it is a significant amount of work. Try to keep plenty of tiles on hand after an installation to ensure there are plenty left for repairs over time.
Pick Up Some Supplies

If you try to remove and replace a ceramic tile without the right tools, you risk damaging the rest of the floor, wall, or shower. Collect the following before starting:
- Basic protection equipment like gloves and goggles since sharp shards of tile are quite dangerous
- A grout saw, a specialty tool required for good results
- A small tub of tile adhesive
- A small container of grout that matches the current color
- A cold chisel: the size depends on the tile you’re removing
- A hammer
- Optional: A clothes iron or a power drill to help loosen the bond of the tile
- Two putty knives, one flexible and one stiff
- Some rags or old towels and painter’s tape to protect the surrounding tile
Avoid combination grout and adhesive products. While they will save you a little money when buying such small amounts, they’re not as good as using the two products separately. Tile adhesive designed specifically for patching will offer the strongest bond since you’re not resetting the entire mortar bed for a few tiles.
Chisel Out the Entire Tile

Once you have your tools assembled, use the grout saw around the edge of the entire tile. This helps break the grout that holds the tile in place, but it doesn’t loosen the adhesive on the back of it. Tape around the tile's edges and put down rags or towels to protect the surrounding tiles and fixtures from scratches.
If the tile being removed is badly shattered, it’s likely fine to just start gently tapping from the most damaged point and slowly working out a few pieces at a time. Work from the center or corner towards the edges, and try not to remove too much at once. Otherwise, you risk cracking the surrounding tiles. If the tile is more stubborn and the chisel is only fracturing the top, try one of the following tricks:
- Grab a clothes iron and let it heat up on a dry setting. Slowly press it against the damaged tile without letting it overlap onto the intact tiles. Hold it there for about 30 seconds, and then attempt the chiseling again while it’s warm. Applying heat a few times is particularly helpful for tiles attached with newer adhesives and acrylic-enhanced mortars.
- For stiffer mortar, try a power drill. Use a ¼-inch ceramic bit and slowly drill a few small holes scattered across the tile about ¼ inch away from the edges and corners. This should help fracture the back of the tile and the adhesive holding it on, freeing it from the backer board or drywall with minimal damage.
Prepare the Space

After the tile is removed completely, vacuum and sweep up any shards and dust. Use a stiff metal putty knife to scrape out any remaining adhesive or mortar residue in the opening.
Apply Adhesive and Set the Tile

Before you rush to apply adhesive, take a movement to dry-fit the tile in the opening. You may realize there’s a tiny bit of leftover grout or tile blocking the fit or that you need to remove a little more mortar to get a flush fit. Once you’re sure you’re ready for a flawless fit, apply a 1/8th inch thick layer of adhesive to the back of the tile with a flexible putty knife. Press the tile in place, using spacers if necessary around the edges to leave even grout lines.
Add New Grout

Let the tile dry overnight or for the time recommended by the manufacturer. Make sure the floor or wall isn’t used or wet during that period either. Once the adhesive has set and cured, apply your grout. Combined grout and adhesive products can be used for this purpose if you already have a matching color on hand. Wipe up the grout residue, let it cure, and your tile should look flawless once again.
Don’t let a single damaged or missing tile keep your bathroom or kitchen from looking its best. Replacing just a few tiles at a time is a good way to get familiar with the process in general, preparing you for tackling bigger renovations later.
Related Articles

How To Install A Wooden Privacy Fence
Wondering how to install a wooden privacy fence? Here’s what you need to know to safely install a privacy fence. Find everything you need to get started.
Learn more
How to Resurface an Asphalt Driveway: Step by Step
Update your home's curb appeal and learn to repair cracks, potholes, and uneven areas
Learn more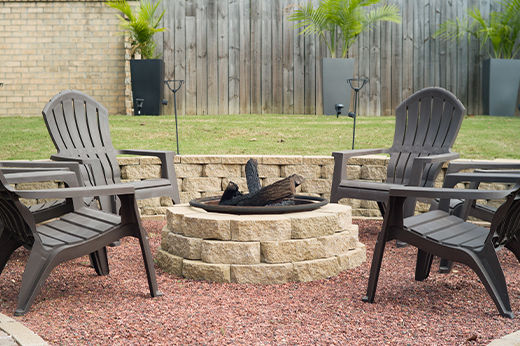
How to Build a Fire Pit
A simple and affordable outdoor DIY project with a step-by-step guide
Learn more
Backyard Privacy Ideas
Enjoy some alone time in the comfort of your own backyard with these simple tips
Learn more
Garage Door Maintenance to Keep It in Tip-top Shape
Six easy and cost-effective ways to keep your garage safe and prevent damage
Learn more