|
|
How to Install Tile Backsplash
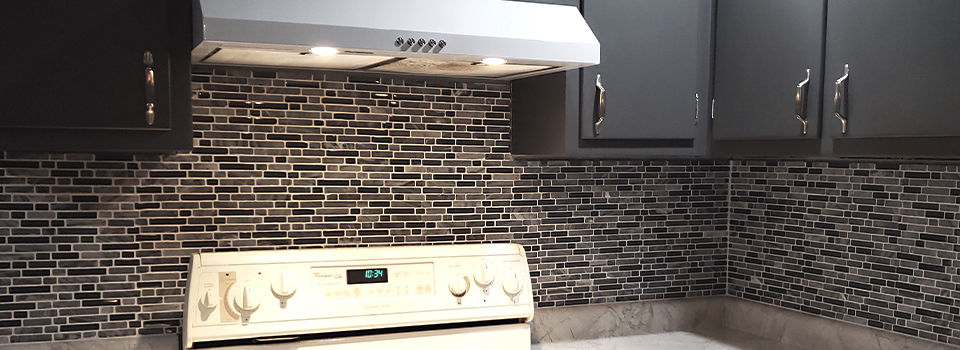
Adding tile backsplash can bring a whole new life and pizazz to your kitchen. With options ranging from ceramic, glass, and tile; mesh backing and peel-in-stick, updating your kitchen is easier than ever.
Supplies/ Materials
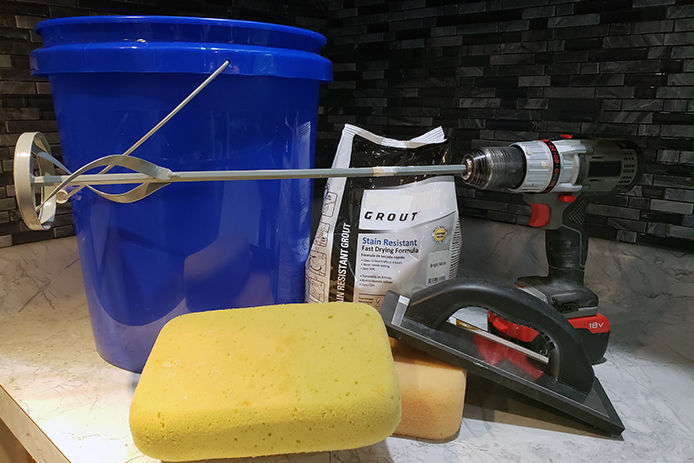
1. Prep the Surface
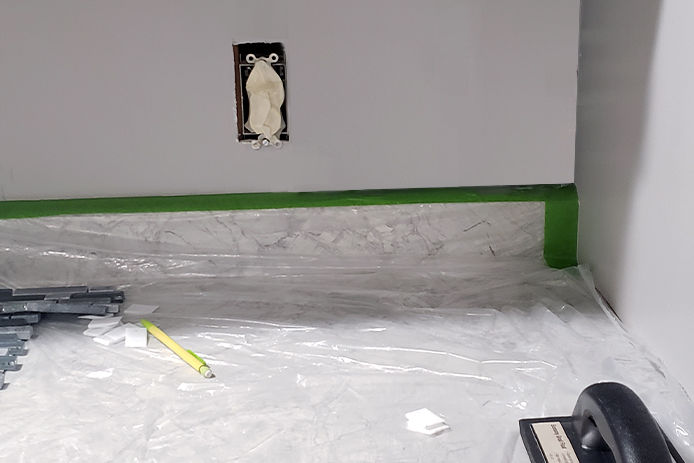
Before getting your hands dirty with mortar/adhesive, you’ll want to prep the surface. Wipe down the wall with a wet cloth, to remove any dust, debris or grease from the walls. Use a de-glosser for shiny or pre-painted surfaces. Let this dry thoroughly, then turn off your power and remove all switch plates. Tape off the outlets, cabinets, and countertops. Lay a sheet of plastic or drop cloth over your countertops to protect them from mortar accidentally falling. Move appliances away from the walls. For areas that won’t have the support of the countertop, like behind the stove, screw a ledger board of wood into the studs for temporary help keeping the tiles level.
2. Dry Fit/Cut the Tiles
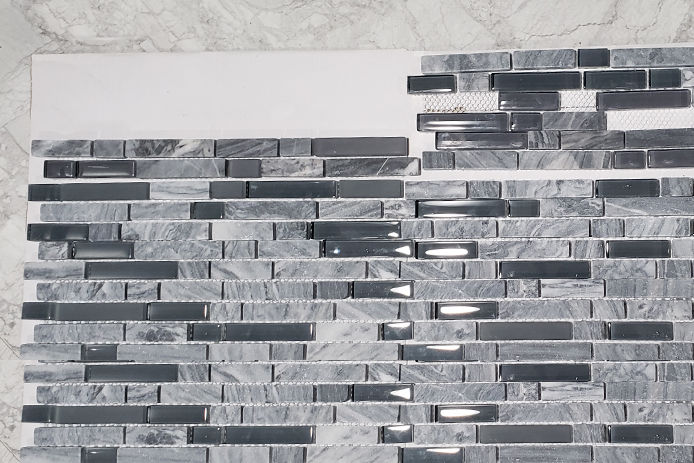
Layout your tiles out horizontally across the countertop, using spacers to get an accurate measurement. Mark the tiles that will need to be cut down. Most mosaic tiles come in a 12”x12” square with a mesh-backing, so the tiles can be cut to fit your kitchen space. Using a wet saw or tile cutter cut the measured tiles to fit. Make sure to wear personal protection equipment around all power tools; tile can chip and send pieces flying. Once the tiles are cut down to size, dry fit them again to ensure the tiles are even.
3. Apply Mortar
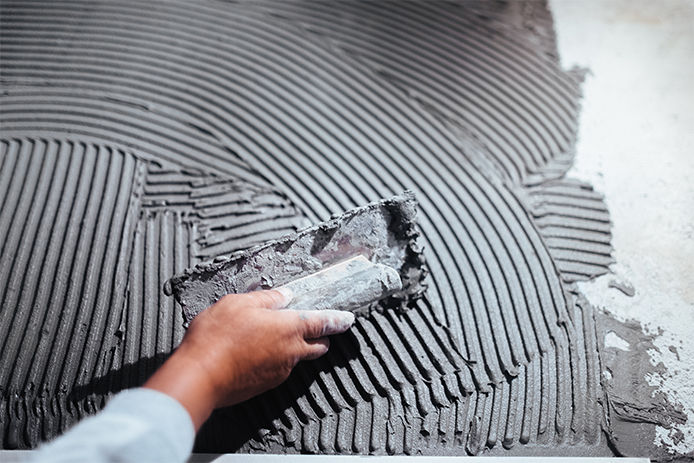
Read and follow the manufacturer’s instructions for mixing and using mortar. You can also opt for a pre-mixed mortar, for more convenience. Using a notched trowel apply mortar to the wall in small sections. If your backsplash has glass tile, be sure to use a white mortar/thin set, because it may show through.
4. Attach the Tile
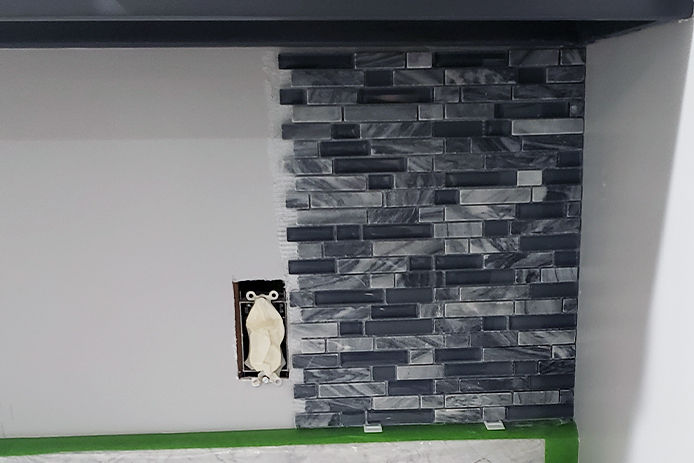
Attach the first piece to the wall, pressing it into the mortar using the rubber grout float. Hold it in place for a few seconds while the adhesive sets. Make your way across the wall setting one piece at a time. If you need to make minor cuts/adjustments, do so before applying mortar to the wall, as the mortar could set before the tile is in place. Let the mortar dry for at least 24 hours before applying grout.
5. Mix and Apply Grout
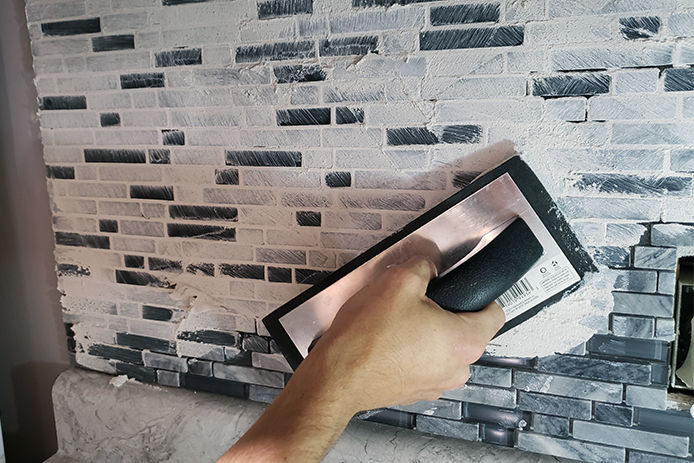
Mix grout, according to the manufacturer’s instructions. Grout sets pretty quick, only mix a small amount at a time. Apply grout using the float in a diagonal sweeping motion. Work across the tile pressing the grout into the joints. Do not grout the bottom joint where the tile butts up against the countertop. You will use caulk to seal up that joint. Wait 10-15 minutes, then wipe away excess grout using a sponge. Wipe in a diagonal direction and rinse the sponge often. A haze will be left that can be wiped clean, once the grout has 24 hours to set and dry.
6. Seal Tile
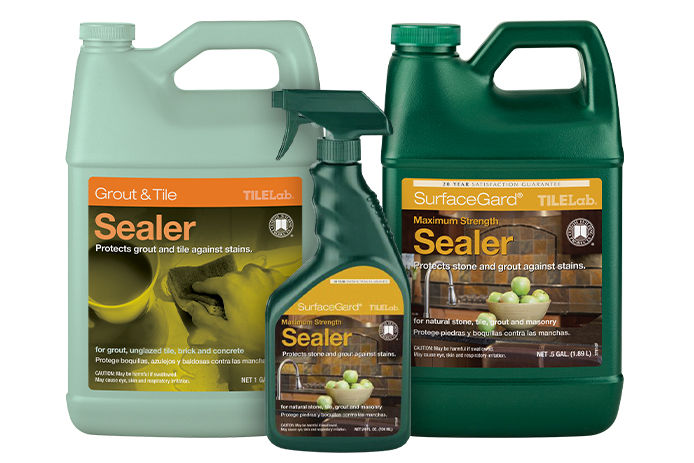
If you bought a mix that combines the grout and sealer in one, move onto the next step. If you purchased your grout and sealer separate you will now need to apply the sealer. The sealer provides a waterproof barrier between the grout and the surrounding area. Follow the manufacturer’s instructions when sealing up the grout. Tip: Apply sealer slowly and deliberately. Apply thin coats of sealer until water beads up on the surface.
7. Add the Finishing Touches
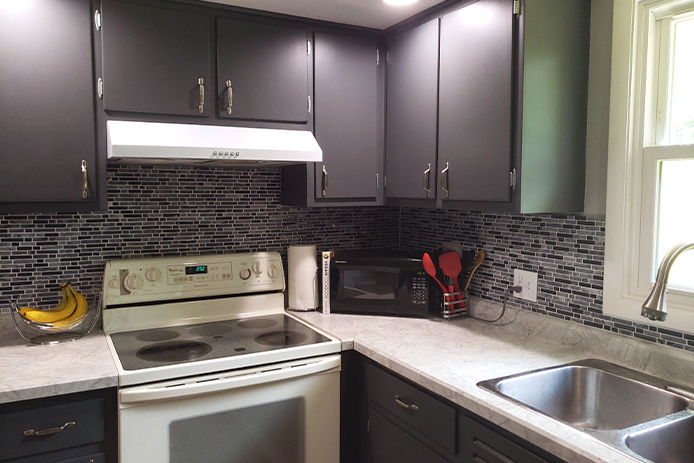
Once the sealer has set and dried for 24 hours, fill expansion gaps at the bottom of the tile with caulk or silicone sealer. Add box extenders to your outlets and switch plates to bring them to level with the new backsplash. Then replace the covers.
While do-it-yourself projects can be fun and fulfilling, there is always a potential for personal injury or property damage. We strongly suggest that any project beyond your abilities be left to licensed professionals such as electricians, plumbers, and carpenters. Any action you take upon the information on this website is strictly at your own risk, and we assume no responsibility or liability for the contents of this article.