While do-it-yourself projects can be fun and fulfilling, there is always a potential for personal injury or property damage. We strongly suggest that any project beyond your abilities be left to licensed professionals such as electricians, plumbers, and carpenters. Any action you take upon the information on this website is strictly at your own risk, and we assume no responsibility or liability for the contents of this article.
How to Install or Replace a Range Hood
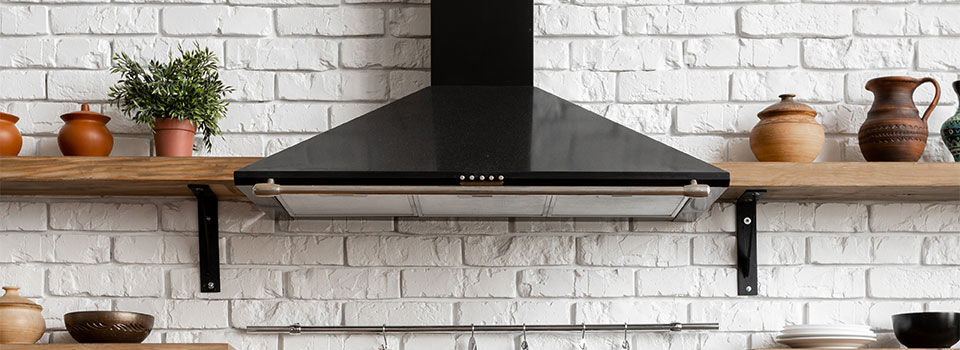
Old range hoods not only tend to stop working as ventilation equipment, but they become eyesores as the paint flakes or as rust begins to spread. Even functioning range hoods can become problematic if they develop such thick coatings of grease that they’re impossible to clean. A new range hood is easy enough to install if there is an old one in place. A brand-new vented hood requires a professional’s help. But an unvented range hood can be installed by most handy homeowners with ease.
Replacing a Vented or Unvented Range Hood
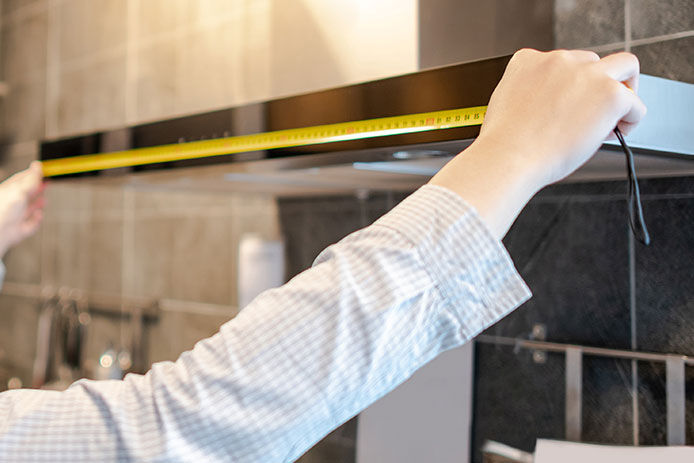
Start by measuring the current range hood across the front from the widest points. That will tell you the size of replacement to look for. Vented range hoods use a universal vent size to make installation easy. If there’s a fit issue, there are adapters to help adjust the new hood to fit the old vent. Unvented range hoods can be installed in place of vented models, but use the vent if it’s still intact since it provides better moisture and smoke removal. Check the location of the vent for the current hood if a vented model is desired. A hood that vents through the cabinet won’t fit a replacement designed to vent on the opposite side.
Remove the Old Range Hood
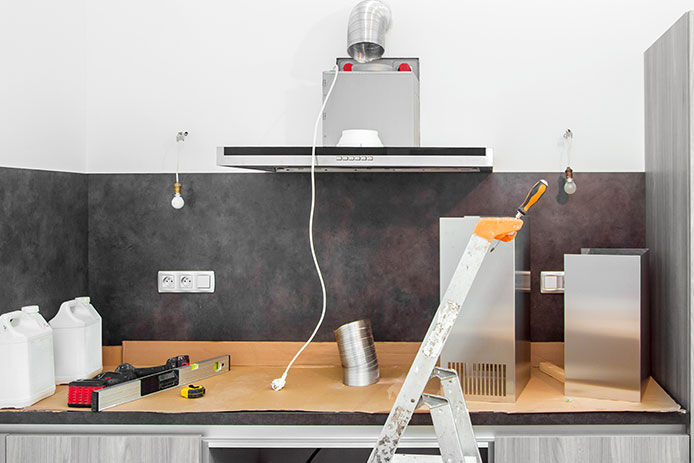
Removing the old range hood can make quite a mess as chips of paint, grease, and rust rain down on the stovetop. Stretch some painter’s plastic or cloth out over the surface while working to reduce cleanup later. Cut the power off to the room and detach any wiring to the lights and fan. Loosen the bolts or screws securing the hood to the wall while keeping a hold on the equipment. This stage is best accomplished with the help of a friend who can hold the hood while you detach it.
Attach the New Hood
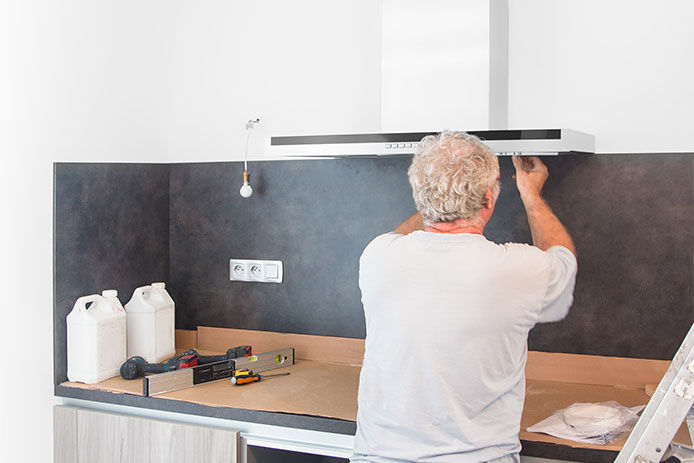
Remove any old mounting brackets and vent attachments. Screw the new brackets in place, using fresh pilot holes drilled into the wall. Don’t reuse the old holes left by the last set of fasteners, or the hood may fall. If there are no brackets used for the hood, only screw the fasteners halfway in to ensure there’s enough protruding material to hold up the equipment. The installation instructions will specify the placement for the brackets and how far the screws should be left exposed, if at all. Hang the hood carefully on the screws or brackets, aligning the vent attachment. Then connect the wiring, switch the power on, and test the new hood out.
Installing a New Unvented Range Hood
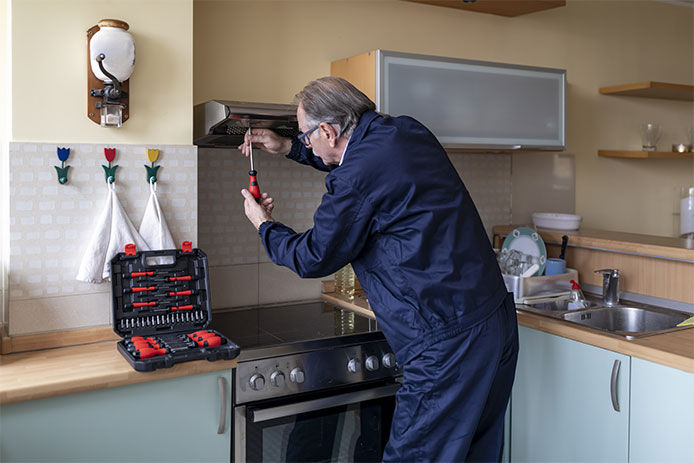
If there’s no range hood in place right now, an unvented range hood is the easiest option to add yourself. These devices install easily and quickly because they rely on charcoal filters to remove steam, grease, and smoke from the air instead. First, ensure the cabinets above the stove are high enough to permit mounting a hood. The bottom of the hood you choose must be at least 24 inches above any heating element to prevent damage. Don’t forget to add the height of the range hood itself when measuring for installation. Then measure the width of the space above the cabinet to find a model you can install without having to cut or move any of the cabinetry around.
Since unvented range hoods don’t require you to cut into the wall, there’s no need to check on wiring or plumbing inside the wall. Simply make sure there’s a junction box nearby for splicing in wires for the light and fan. The wiring should run through the wall behind the stove to ensure it’s protected from the heat of the range. Attach the mounting brackets or screws in the pattern shown in the installation instructions and hang the hood itself. Connect the wiring and turn the power on to give the new hood a test.
A lack of range hood shouldn’t stop you from enjoying the cooking experience in your kitchen. An unvented range hood is easy to add from scratch with minimal work. Even so, a replacement vented hood can be added by almost any homeowner. If a new vented hood is desired, consider letting a professional install the duct for the vent since making mistakes during that step can lead to moisture and air getting inside your home.