Skip to Main Content
Back to Navigation

How to Install a Bathroom Fan

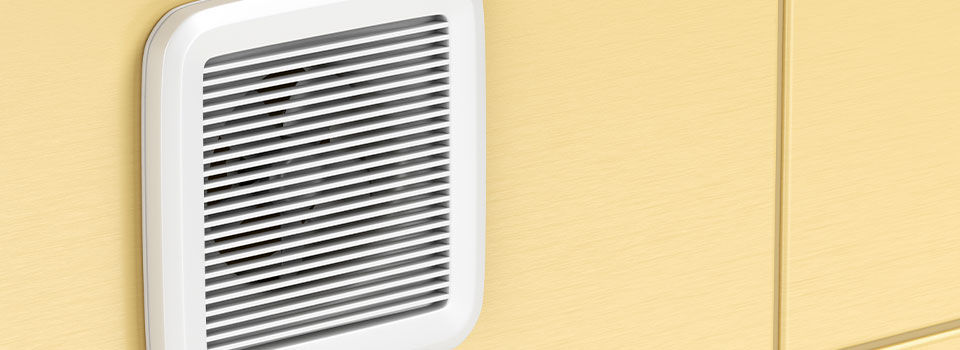
A white, square bathroom exhaust fan is mounted on a yellow tile wall.

For optimal ventilation in your home, you need a bathroom fan. Sometimes referred to as a bathroom exhaust fan, these little devices play a critical role in your home's air quality and health.

If you need to replace a bath fan or want to know how to install a bathroom fan, we've got you covered in this easy step-by-step guide. Bathroom fan replacement is a DIY project that many homeowners can handle on their own. Let's get started.

What Do Bathroom Exhaust Fans Do?

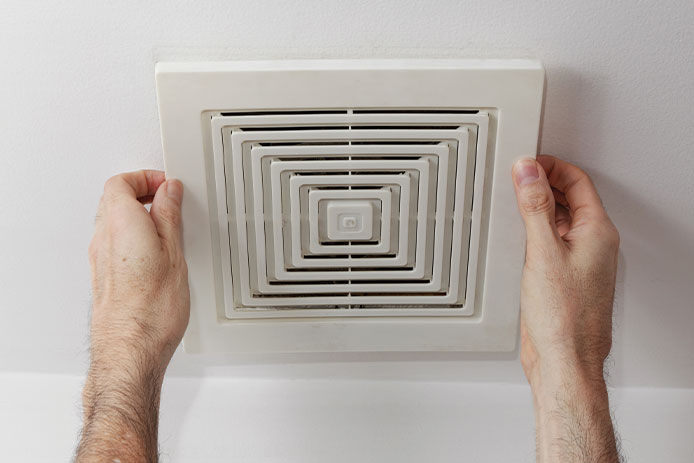
A person's hands hold onto either side of a square exhaust fan. The fan is white and mounted on a white ceiling.

You may assume that the bathroom vent fan exists to "air out" smells after someone uses the restroom. While this is important, a bathroom exhaust fan does much more than deal with potentially unpleasant odors.

The fan in your bathroom plays a critical role in the ventilation of your house. It helps reduce humidity levels so mildew and mold don’t become a problem. Bathrooms are notoriously damp places where we shower, use the sink, and flush the toilet. All that excess moisture can lead to big concerns if your house doesn’t have a bathroom fan. 

Bathrooms tend to stay damp and even have a sticky feeling over time. You may notice dust and grime that seems to stick in the corners of your bathroom. Worse, without proper ventilation, you may also see dark corners where mold and mildew start to invade your shower and bath.

Since your bathroom is the area where you clean your body, it's extra essential that it stays clean and fresh. A bathroom fan will also help with your home's ventilation overall and reduce mildew growth in other areas. If you notice condensation on the windows and dampness in other areas of your house, a bathroom fan can help clear things out.

As a bathroom fan ages, it can also become loud, and older plastic can turn yellow. Today, quieter fans on the market can pull the humid air out of a small bathroom almost silently. Do some research to select the right fan for your home. Look at your existing bathroom exhaust fan (if you have one) to get a good idea of the fan type you want.

It's also important to properly size the bathroom exhaust fan and install it carefully so you can enjoy a drier, better-ventilated bathroom and better home health. Follow the step-by-step instructions below for bathroom fan replacement.

How to Install a Bathroom Fan

Before installing a new exhaust fan, it's important to ensure you've gathered all supplies and have planned some time to work on the project. A bathroom fan installation can be done on a weekend, but as with any job, taking your time is essential.

Materials Needed

Step 1: Choose an Exhaust Fan for Your Bathroom

If you plan to install the bathroom exhaust fan directly over your bathtub or shower, check that it's rated for this type of moist air installation. It must include GFCI connectors to decrease the fire risk from the humidity (which can short out electrical wires). If the fan isn’t going directly over the tub or shower, any type of exhaust fan will do. 

You'll also want to consider the size of the fan for the bathroom. Bathroom fan sizing is designated by CFM, or "cubic feet per minute." To calculate the proper size, you'll need to calculate the volume of your bathroom—the length times the width of the room times the height in feet. This calculation should include the shower stall and closets. Divide that number by 7.5, giving you the CFM rating for your bathroom fan. You'll want to ensure your bathroom fan moves as much air as needed to keep your bathroom comfortable.

Most bathroom fans will come with the fittings, screws, and mounts required for installation. Be sure to check the box to make sure that your bathroom fan kit contains everything you need.
Step 2: Mark and Cut the Rough Opening

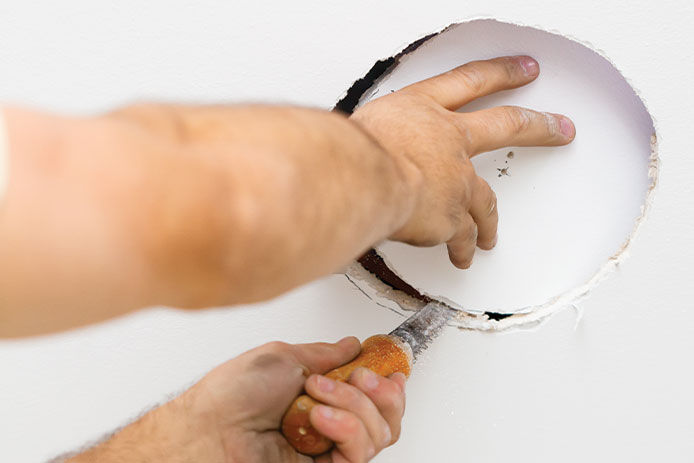
A person uses a small hand saw to cut a circular opening in white drywall.

Safety is always the first step in any home renovation project. You will want to begin the project by shutting off the circuit breaker to your bathroom. Use a voltage tester to make sure that the existing bathroom fan is completely without power before you remove it. Take all necessary safety precautions, including wearing protective glasses. You may also want to wear gloves.

If your bathroom is dark, you may also need a work light. The existing ceiling light should be turned off since you disconnected the electrical circuit. 

If you're removing and replacing an old exhaust fan with a fan of the same size, the project is quite simple. Remove the existing fan and replace it with the new fan from the kit, following the manufacturer's instructions.

In many cases, though, you'll need to adjust the size of the opening, making it larger for the new fan. It's best to choose a space near one joint to ensure enough room for the hangers for the fan's housing.

Hold up the fan's housing to the ceiling hole and mark the shape with a pencil. Push a 3-inch-long nail into each square of the corner. Then, go into the attic to find the nails and cut between them for a perfectly sized opening.

If you can't access the attic, you will need to cut into the drywall from the bathroom (the nail marking method will not work in this case). Use a reciprocating saw to cut as cleanly as possible, but the plastic cover around the fan will often help you hide any minor imperfections.

Step 3: Route the Exhaust Vent Tube

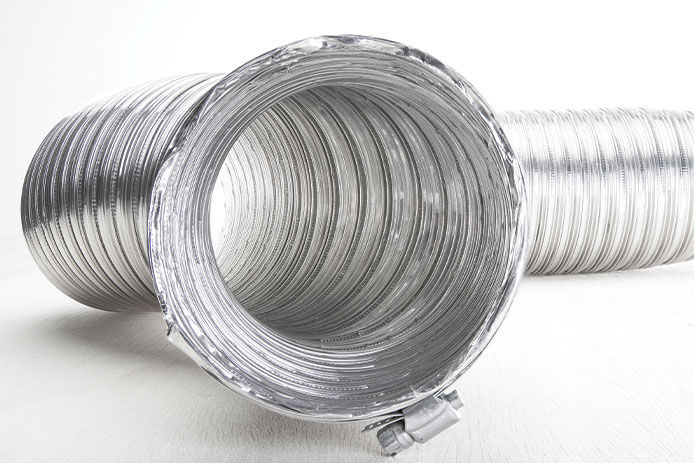
A length of round silver, flexible vent duct tubing rests against a white floor and background.

Once you’ve cut a rough opening for the fan, you’ll be able to detect how far you’ll need to run the exhaust vent. Venting material is flexible, but you should avoid bending the flexible duct too sharply to reach the nearest external wall or with a roof vent.

If you vent through the roof, you will need to get on top of the roof and remove the shingles. This job is more complex and dangerous. Venting through the exterior wall is generally most manageable for beginning DIY-ers.

Use a large drill attachment to cut two or three-inch holes (for most vents). If you need to cut a larger hole, you may need to use a reciprocating saw. Once the exterior vent is opened, install the vent duct from that side. Leave the duct dangling where you will attach it to the fan inside the bathroom. Attach a cover to the exterior vent opening with a power drill.

Step 4: Mount the Exhaust Fan

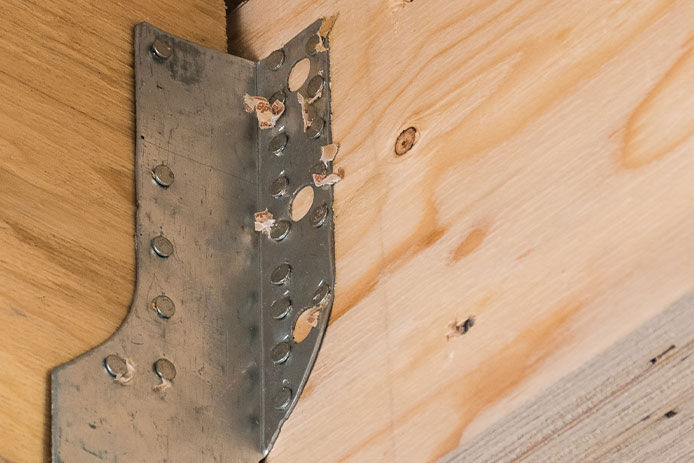
Silver mounting brackets are nailed into a wooden ceiling joist.

Because you turned off the power at the beginning of the project, it is safe to install the new bathroom fan and handle the electrical wiring. Take a moment before you begin to check the electrical box and make sure that the breaker is still off so it is safe to proceed with the project.

You will mount the fan with housing brackets that hold it flush against the ceiling joists (so it doesn’t rest solely on the drywall). In the previous step, you should have located the joist, and now you nail or screw the brackets into the joist around the sides of the rough opening. 

Once the brackets are secure, you’ll lift the fan housing into place, letting it rest on the mounting brackets. Test the fit to make sure there are no depth issues or obstructions between the wiring, the ducts, and the fan. 

Step 5: Connect the Wires and the Duct

A black electrical wire is shown with two yellow and three red wire caps.

Now that your fan is mounted, it's time to connect the wiring. You will join the wiring using wire connectors to ensure a tight fit between the house wires and the fan. The wire connectors will often be included in the fan mounting kit.

If you install a new fan, there will not be an existing connection to the house wires. In this case, you’ll need to use electrical tape to “fish” the wire through the wall and down to a wall switch. Most basic bathroom fans require a two-wire cable. Fans that feature a heating element or light may require a three-wire cable. 

You will connect the duct once the wires are connected to your fan. Do this by slipping the hose clamp over the duct material and tightening it into place.

Step 6: Test the Fan to Make Sure it Works

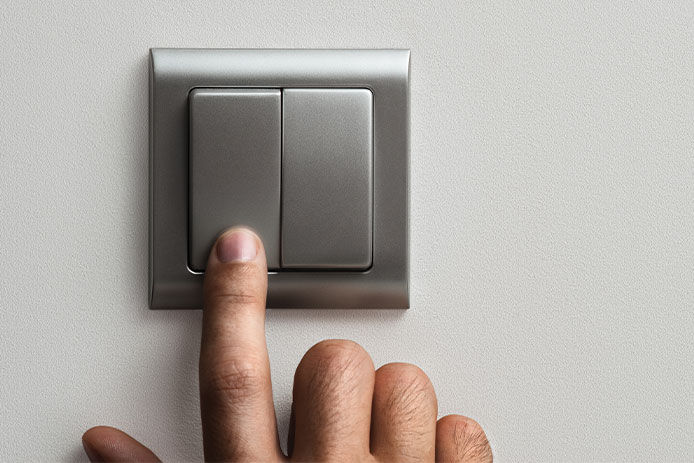
A person presses a brushed silver dual light switch with their pointer finger.

If you've followed the instructions in your fan kit and above, your fan should be ready to keep the air flowing in your bathroom. Before you attach the face cover, test the fan to ensure it works.

Turn the power back on at the breaker. Then flip the switch on your fan. Be sure that you run the fan on all modes. Give the test several minutes to ensure that there’s no interruption of service or circuit overload, which could indicate an issue with the wiring. 

If the fan is working well, pop or screw on the cover and admire your job well done!

Get Everything You Need for a New Bathroom Fan at Do It Best

At Do It Best, we carry all the supplies you need for great home improvement projects. You can follow the steps above to install a new bathroom exhaust fan in just a few hours.

While a new bathroom fan is often a straightforward project, it’s important to contact an expert if any issues arise—especially if this is your first time working with electrical projects in your home. 

For most homeowners, though, a new bathroom fan kit will include all you need to remove an old fan, install a new vent and ductwork, and cut down on bathroom humidity and stuffy air.

Should you need any supplies along the way, your local Do It Best has the tools and expertise to help you tackle your next home improvement project!


While do-it-yourself projects can be fun and fulfilling, there is always a potential for personal injury or property damage. We strongly suggest that any project beyond your abilities be left to licensed professionals such as electricians, plumbers, and carpenters. Any action you take upon the information on this website is strictly at your own risk, and we assume no responsibility or liability for the contents of this article.

test

Extension Cord Safety

Learn the simple dos and don’ts for powering your home safely

Learn more
test

Honeywell Thermostat Buying Guide

Upgrade your home with a new Honeywell thermostat designed for your exact needs.

Learn more
test

Where to Put Outlets in Garage: Things to Consider

Learn how to safely and properly add electricity to your garage

Learn more
test

How to Install a Ceiling Fan in 7 Steps

Follow these steps to install the perfect fan for your space!

Learn more
test

What to Know About Solar Panels for Your Home

Want to learn more about solar panels? Our solar panel buyers guide shares everything homeowners need to know about cost, benefits, tax credits, and more!

Learn more